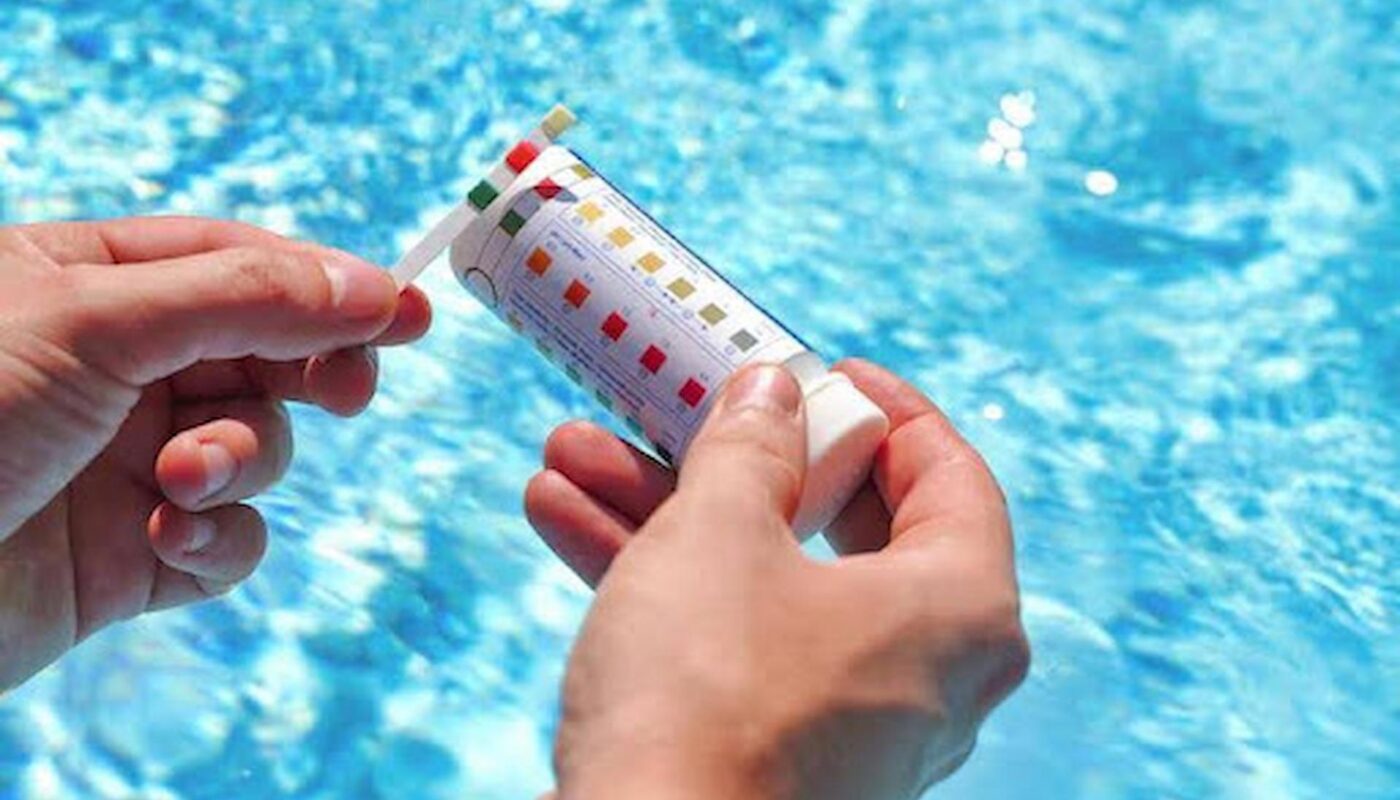
Keeping your pool sparkling clear and safe for swimmers doesn’t have to be a chore. Understanding a few common mistakes can save you time and money. Dive into our guide to learn the simple steps that will transform your water testing routine from frustrating to flawless.
Picture this: your pool is murky, and no matter how many chemicals you add, the water remains stubbornly out of balance. While it’s easy to blame the substances themselves, the problem often lies in the testing process. A recent survey found that more than 60% of pool owners report difficulty in getting accurate readings, leading to a frustrating cycle of chemical overuse and wasted resources. By pinpointing the typical blunders in your at-home testing routine, you can ensure your water is always pristine. An essential first step is to have a reliable and comprehensive Pool Testing Kit that measures all key parameters.
Mistake #1: Taking an Inaccurate Water Sample
Getting a representative sample is the foundation of an accurate test. Many people simply dip a cup into the water near the surface or a return jet, but this can lead to skewed results. The surface of the pool often has higher concentrations of contaminants like sunscreen, oils, and floating debris, which can throw off your readings. Additionally, water near return jets is freshly circulated and may not accurately reflect the overall chemistry of the pool. To get an accurate reading, collect your sample from about elbow-deep (12-18 inches) in an area away from the skimmer, jets, and corners. This simple action ensures your sample is a better representation of the entire body of water.
Mistake #2: Delaying the Test
Once you’ve collected your sample, the clock is ticking. Leaving the water sample to sit, even for a few minutes, can expose it to air, sunlight, and evaporation. The interaction with these elements can cause the water’s temperature and chemical composition to change, leading to inaccurate test results. To avoid this, get into the habit of testing your water sample immediately after collecting it. If you’re using a liquid reagent test kit, this means adding the drops and swirling the vial after collecting the sample. This promptness is crucial for obtaining a reliable reading and making the proper adjustments.
Mistake #3: Not Following Instructions Precisely
Pool testing kits are calibrated to work under specific conditions. Not following the instructions for your Pool Testing Kit can lead to incorrect readings. This can include anything from not filling the vial to the marked line to adding too many or too few drops of a reagent. For example, if you’re using a reagent-based test, the amount of reagent is often proportional to the water sample size. A slight over- or under-fill of water can result in an over- or underdosed reagent, which will give you a false reading and potentially cause you to add the wrong amount of chemicals to your pool. Always read the instructions carefully and follow them to the letter.
Mistake #4: Ignoring pH and Alkalinity Levels
Many pool owners focus solely on chlorine levels, believing it’s the only chemical that matters. However, pH and alkalinity are the “unsung heroes” of pool chemistry. The pH level, which measures how acidic or basic the water is, directly impacts the effectiveness of your chlorine. For instance, a pH level that is too high (above 7.8) can render your chlorine up to 80% less effective, meaning it’s not properly sanitising the water. Similarly, Total Alkalinity (TA) acts as a buffer for the pH, preventing it from fluctuating wildly. Ignoring these two factors can lead to a cycle of constant pH swings, cloudy water, and ineffective sanitisation, even if your chlorine levels appear to be in range.
Mistake #5: Using Expired or Improperly Stored Reagents
Did you know that pool testing reagents have a shelf life? The chemicals in liquid reagents and test strips can degrade over time, especially if exposed to heat, humidity, or direct sunlight. Using an expired or compromised reagent will give you inaccurate results, regardless of how perfectly you follow the other steps. For instance, a study on the accuracy of swimming pool test kits found that reagents can show inaccurate readings for free and total chlorine. To ensure the integrity of your tests, store your Pool Testing Kit in a cool, dry place and check the expiration dates on all reagents. Replace them as needed to maintain accuracy.
Key Takeaways for Perfect Pool Water
- Sample Correctly: Always collect your water sample from at least a foot below the surface and away from jets and skimmers.
- Test Immediately: The moment you collect your sample, test it. Do not let it sit or react with the open air.
- Check All Parameters: Don’t just focus on chlorine. Regularly test and adjust pH, Total Alkalinity, and Calcium Hardness to ensure proper water balance.
- Respect Your Equipment: Store your testing kit in a cool, dark, and dry place. Replace expired reagents to ensure your results are always accurate and reliable.
In Closing
Mastering at-home pool water testing is not about being a chemist; it’s about being mindful of the simple, yet critical, steps that many pool owners overlook. By avoiding these common mistakes—from improper sampling to using old reagents—you can save yourself time, money, and the frustration of dealing with imbalanced water. A well-maintained pool is a joy, not a headache. The right approach, starting with a dependable Pool Testing Kit, is your key to a summer of crystal-clear, safe swimming.


